
How to Remove Melt-and-Pour Soap out of Plastic Molds
Making your own soap can be fun, but when it comes to getting the soap out of the plastic molds, that’s when it becomes tricky. This is why we decided to put together a guide for our soap makers and give some tips and tricks on how to remove melt-and-pour soap from plastic molds.
Getting soap out of plastic molds often has to do with the very first step of making soap: making sure you fill the plastic mold to the very top of the cavity.
Do not use butter or oil or any other substance to grease the mold. There is no need for that. Just follow the steps below and you will have no trouble removing your soap.


Step 1: Measure & Melt the Soap Base
To make sure that you have an equal amount of liquid soap for every container, cut the soap base into little chunks and weigh them in ounces. Cutting them into smaller chunks will make them easier to melt. A two-pound block of soap base can yield 10-20 soap bars depending on the size of your container.

The trick to melting soap base is to heat them in the microwave 30 seconds to one minute at a time until all the pieces are completely melted. If you do not want to use a microwave, you can melt them in a pot over the stovetop. Keep in mind that soap bases melt at around 120 °F so be sure to watch over it so it doesn’t burn.
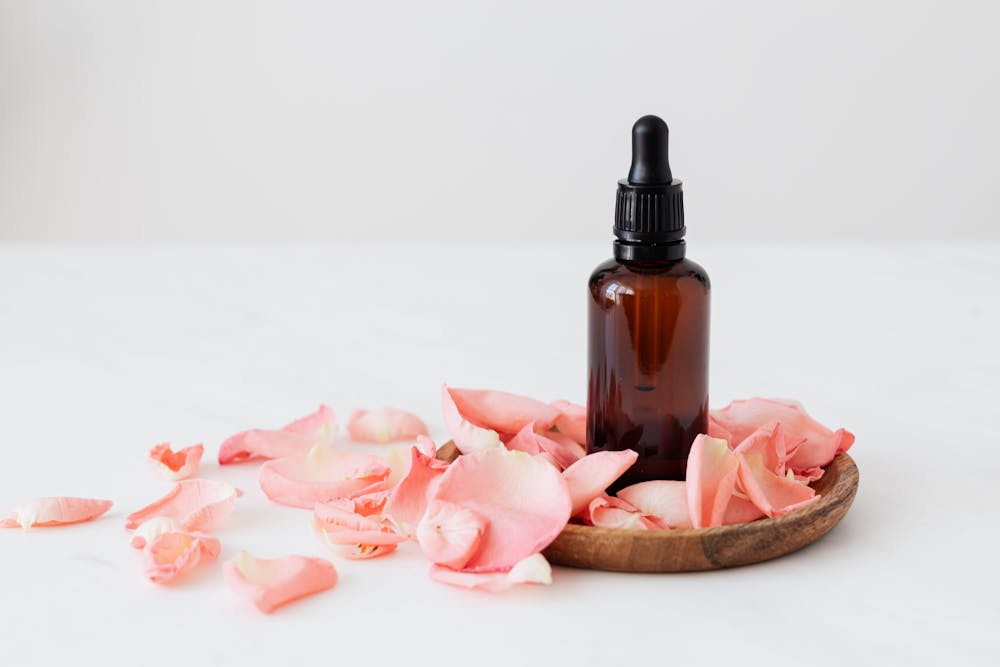
You can add fragrance or essential oils to your soap base while it is heating. Make sure you measure this out as well because you don’t want to be overpowering soap smell that might result in rashes or burns. Do not put more than a quarter of an ounce of essential oils per pound or more than an ounce of fragrance oils per pound.
Fragrance/Essential Oils & Color Options
If you decide to add extra fragrance or oils, slowly pour them into your warmed soap base and gently mix them together. This will make sure the fragrance or oil is chemically combined well.
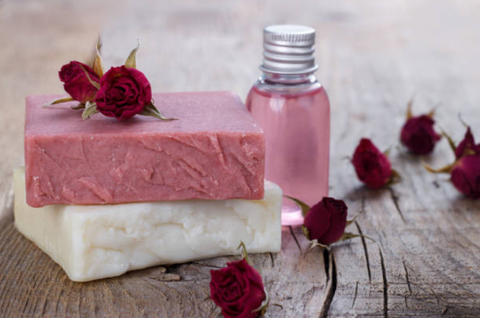
Additionally, you can add color to make your soap more colorful, just make sure you use skin safe dyes for obvious reasons. Skin safe dyes might be a lot weaker than normal dyes because they are less chemically toxic considering how they are made for use on skin. You might want to use half a teaspoon of dye per pound of soap.
Stir everything together but make sure you don’t stir too hard otherwise you will create bubbles. If you happen to get bubbles, just spray or drop a little rubbing alcohol into the mixture and it should get rid of them.
Step 2: Pour the Liquid Soap & Wait for It to Fully Harden
You need to slowly pour the liquid soap into the mold and try not to splash. You want to try to avoid getting bubbles at all costs.

When you fill your plastic molds with the liquid soap formula, pour the liquid into the cavity so it fills all the way to the top of the line. After that, carefully wrap your mold with a plastic wrap or cover to keep it safe while you wait for it to harden.
You need to wait for the soap to fully cool down, dry, and harden before you even think about removing it from the mold. Depending on the size of your mold, you would generally have to wait 5-6 hours for smaller soap molds and 12-24 hours or more for larger molds. The soap should be hard when you feel it. That’s when you know it has completely set and almost ready to be popped out.
Step 3: Refrigerate the Mold
Place your soap mold into the freezer for 3-5 minutes. Check molds every few minutes to make sure that overcooling does not happen. Small condensation drops on the surface of your soap indicate that the chocolate has sat in the refrigerator too long.
Leave your soap molds in the refrigerator for 10-15 minutes before taking them out. If they are still soft, put them back in the fridge and use your own discretion.
Step 4: Getting Soap out of the Plastic Mold
To remove your soap from the plastic mold, place your mold in between your thumb and index finger and apply pressure or press the soap out of the mold from the bottom.
If the soap doesn’t easily come out, place your molds in the fridge again. Pull molds out of refrigerator and repeat until all soap has come out of the molds.
Once you feel like your soap is loose enough, flip the mold over and let the soap slide out or help it come out by pressing the plastic sides of the mold. If there are any imperfections on your soap, use a butter knife or a cloth to rub or carve off any of the bumps.
The fun thing about melt and pour soaps is you can start using them right away after you’ve finished making them. If you do not use your melt and pour soaps right away, place them in separate sealed packaging each since they tend to sweat and shrink.

A tip to making your soaps last a little longer in quality: when using your created soaps, store them in a cool and dry place before and after using them. This will help them keep their shapes for a longer time.
Melt & Pour Soaps
Melt and pour soaps are as simple as the name. They are basically soap bases that you can melt into the liquid form of soap to pour into molds to create your own soap designs. They are still very real soaps. Some melt and pour soaps have essential oils or fragrances added to them already so there would be no need for you to add more, only at your own discretion.
Melt and pour soaps are named after the fat they are created from. For example, goat’s milk will result in a goat’s milk soap while shea butter will result in a shea butter soap.
The benefit of making melt and pour soaps to cold-processed soaps is the lye chemical. Cold-processed soap uses lye in a chemical reaction to turn fragrance or essential oils into soap. This process is called saponification and often results in you having to wait days or sometimes weeks when you’re making cold-processed soaps. The soaps must be left untouched for the saponification process to be completed. Melt and pour soaps have already gone through the saponification process which means they have the lye incorporated into soap base prior to you melting it.
Here at Shapem, we offer a large variety of plastic molds. Be sure to check them out and get inspired for your next project!

Please email me pictures of your plastic soap moulds
Can you please email me pictures of your plasric soap moulds.
Hi.How can I get your plastic mold for large scale soap production? Thanks.
Hi.How can I get your plastic mold for large scale soap production? Thanks.